Build with Composer
Composer is Cursor's superpower. While Tab handles single suggestions and Chat handles questions, Composer creates entire features—multiple files at once. This is where you build fast.
Opening Composer
Two ways to open Composer:
- **Cmd+I** (floating window): Smaller, dockable window while you work
- **Cmd+Shift+I** (full screen): Dedicated workspace, better for complex tasks
Normal vs Agent Mode
Composer has two modes:
- **Normal Mode**: You guide each step. You see the changes and approve them.
- **Agent Mode**: AI is autonomous. It gathers context, makes decisions, and iterates. Perfect for complex builds.
Toggle Agent Mode at the top of the Composer panel.
Adding Context to Composer
Help Composer understand your project by adding context:
- **@filename**: Reference specific files (e.g., "@app.jsx" to include that file in context)
- **#filename**: Add entire files to Composer workspace
- **/** menu: Add all open editors, Git changes, PR info, etc.
- **Cmd+Enter**: Add your entire codebase to context (powerful!)
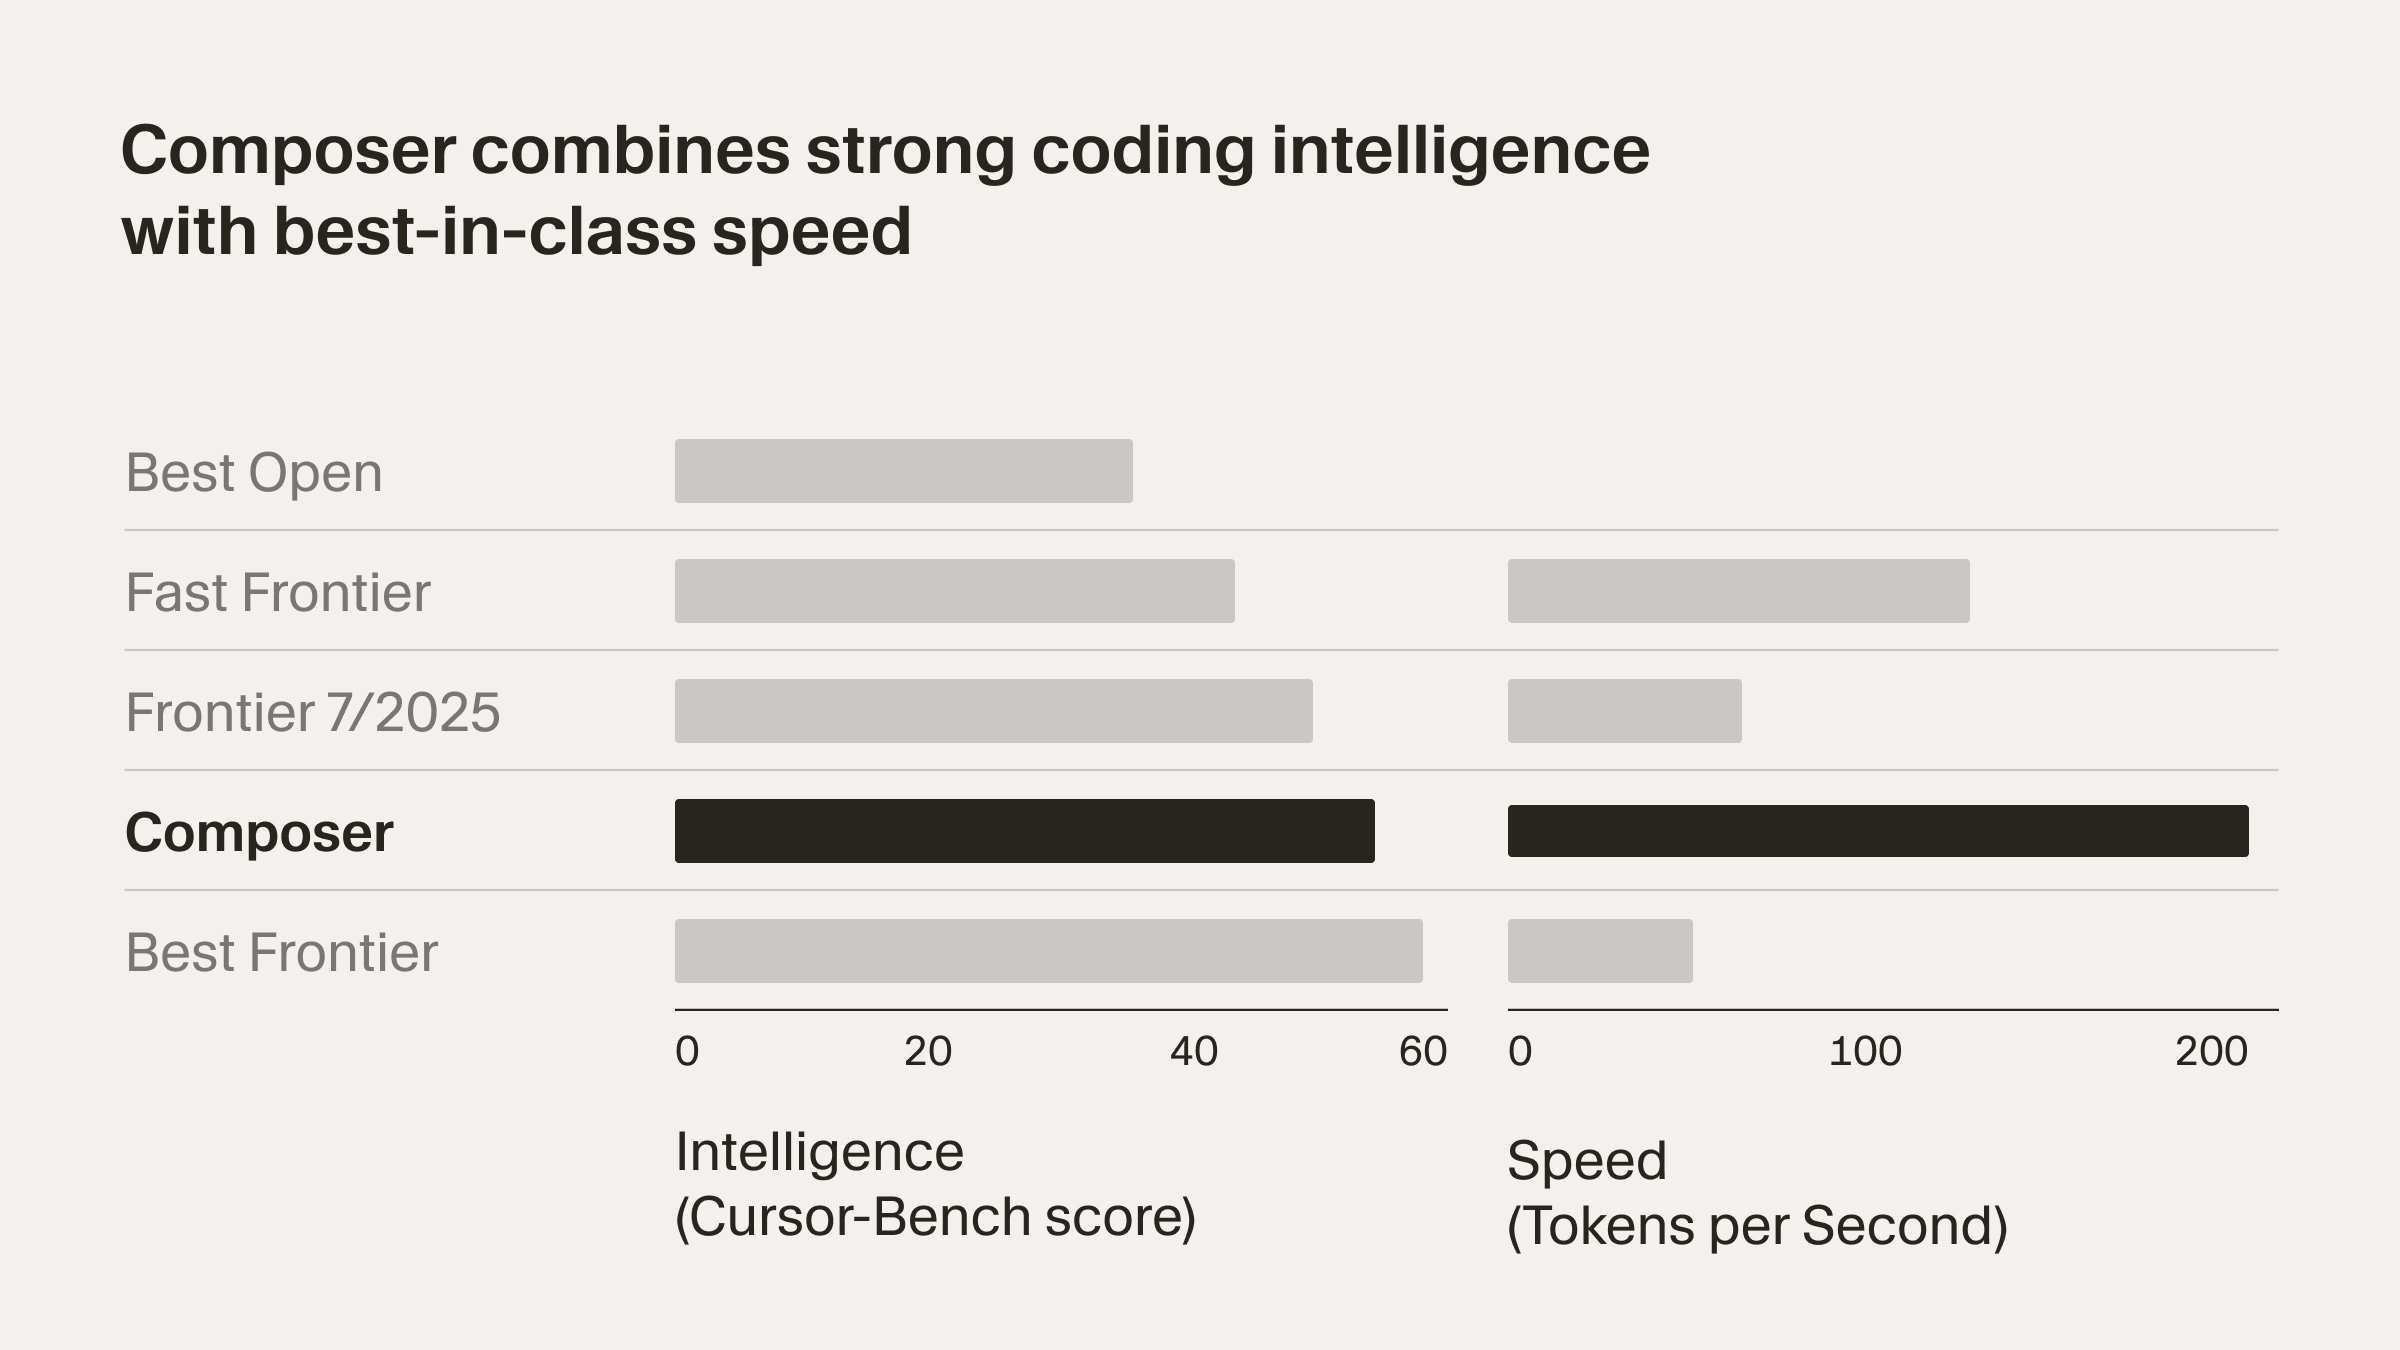
Example: Create a React Component with Composer
Try this prompt in Composer:
Create a React card component with image, title, description, and a clickable button. Use Tailwind CSS for styling. Make it responsive. Save as Card.jsxComposer generates the complete component file, ready to use.
YOLO Mode: Autonomous Iteration
Advanced feature: Enable YOLO Mode in settings. It lets Agent Mode:
- Automatically run tests
- Build your code
- Fix errors and iterate until everything passes
- All without asking you each step
Perfect for rapid prototyping where you just want a working feature ASAP.
Composer works best when you give it context about your project structure and dependencies. More context = better results.
Composer Power Unlocked!
- You can open Composer in floating or full-screen mode
- You understand Normal vs Agent mode
- You know how to add context with @-mentions and #-files
- You've created multi-file code with Composer
Excellent! You're now an AI developer. Next, we'll focus on design-to-code—converting designs into working React components.