Convert Designs to Components
This is where designers shine. Take a design from Figma (or any source), upload it to Cursor, and watch it transform into working React code. No manual translation needed.
The Design-to-Code Workflow
The process is simple:
- Export your design as a screenshot (PNG, JPG)
- Open Chat in Cursor (Cmd+L)
- Upload the image
- Describe what you want (or let Cursor analyze it)
- Get working React code with Tailwind styling
Step-by-Step: Figma Design to React
Screenshot your design
In Figma, select the component/frame you want to convert. Take a clean screenshot without overlays or UI chrome.
Open Chat (Cmd+L)
Open the Chat panel on the right side of Cursor.
Upload image
Click the attachment icon or drag the screenshot into Chat.
Describe or ask
Write: "Convert this design to a React component using Tailwind CSS. Make it responsive and match the design exactly."
Get code
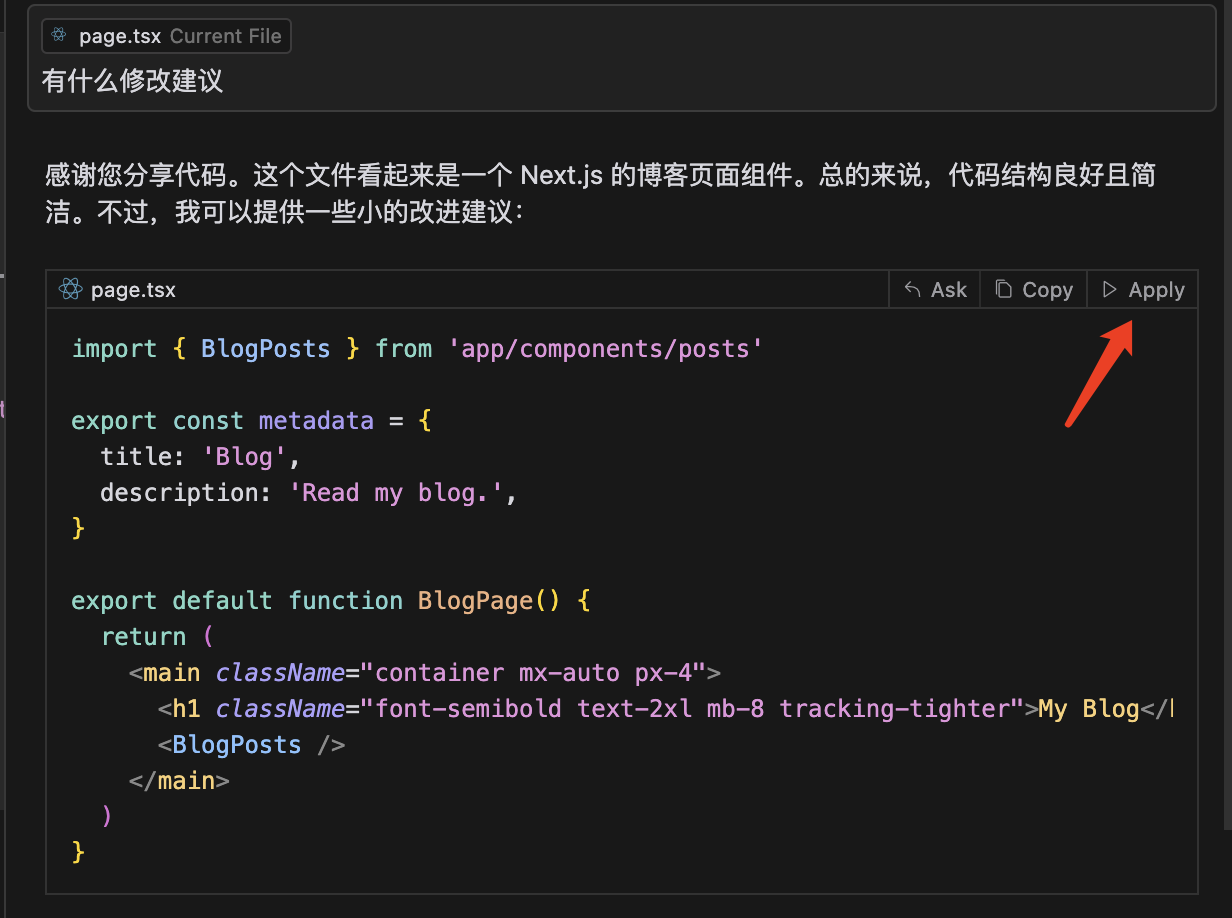
Cursor generates React code. Copy it or apply it directly to your project.
Iterative Refinement
The first version rarely perfect. Refine it:
- Say "Make the button red instead of blue"
- Ask "Can you add an icon to the left of the text?"
- Request "Adjust spacing to match the design more closely"
- Each time, Cursor updates the code
Pro Tips for Better Conversions
- **Clear backgrounds**: Screenshot on a clean background for better AI understanding
- **High resolution**: Use clear, high-quality images
- **One component per screenshot**: Don't mix multiple designs in one image
- **Describe your stack**: Tell Cursor what framework/version you're using
- **Provide context**: Reference existing design tokens or style files in your project
- **Use Composer for multi-component**: Use Composer (Cmd+I) to generate a whole page with multiple components
You just converted a design to working code in minutes instead of hours. This is what AI development looks like for designers.
Design-to-Code Ninja!
- You can convert Figma designs to React components
- You understand the iterative refinement process
- You know how to provide good context and descriptions
- You've experienced the design-to-code workflow
Amazing! You now bridge design and code. Next, let's go deeper into frontend development with React and Tailwind.